This article will guide you through setting up your Private Email with the native Gmail app on Android. The screenshots may vary depending on the software version and device.
- Launch the Settings app on your device.
- Once it launches, tap on Accounts.
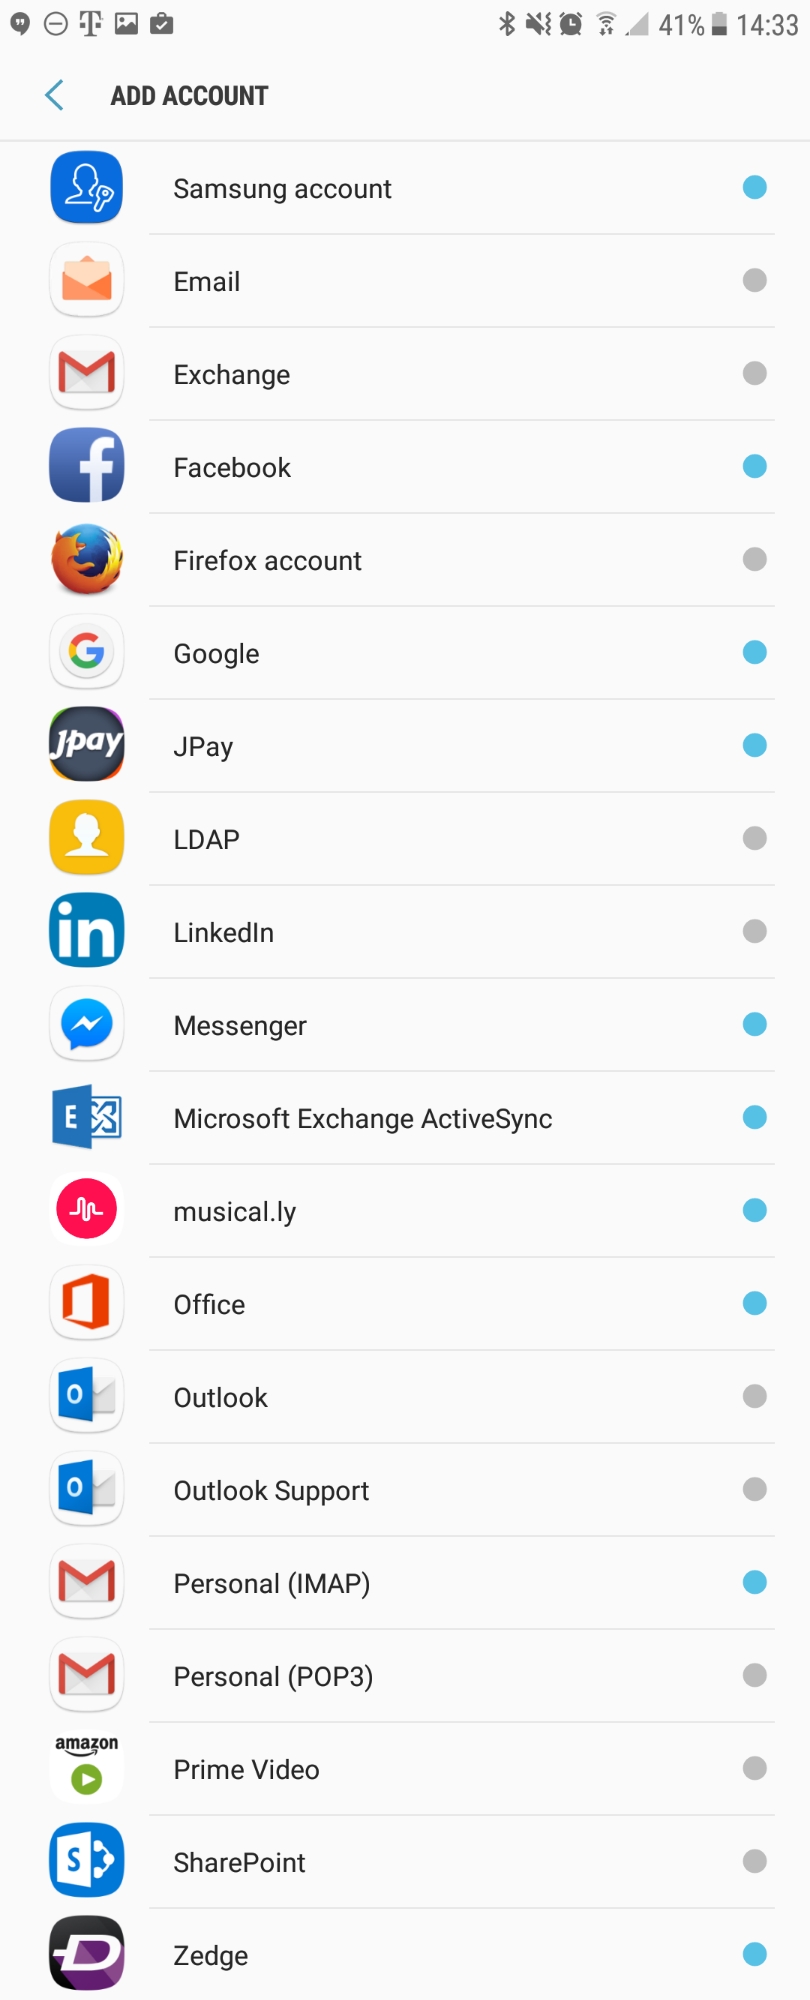
- Tap on Add Account.
- Select Personal (IMAP), near the bottom of the screen, as the Account Type
- Enter your email address: support@thexyz.com
- Type your mailbox password
- Enter the following incoming settings:
Username: support@thexyz.com
Password: Your mailbox password
Server: secure.emailsrvr.com - Tap Next
- Enter the following incoming settings:
- Enter the following outgoing settings:
Make sure Require signin is enabled.
Username: support@thexyz.com
Password: Your mailbox password
SMTP Server: secure.emailsrvr.com
Port (if prompted): 465 with SSL - Tap Next
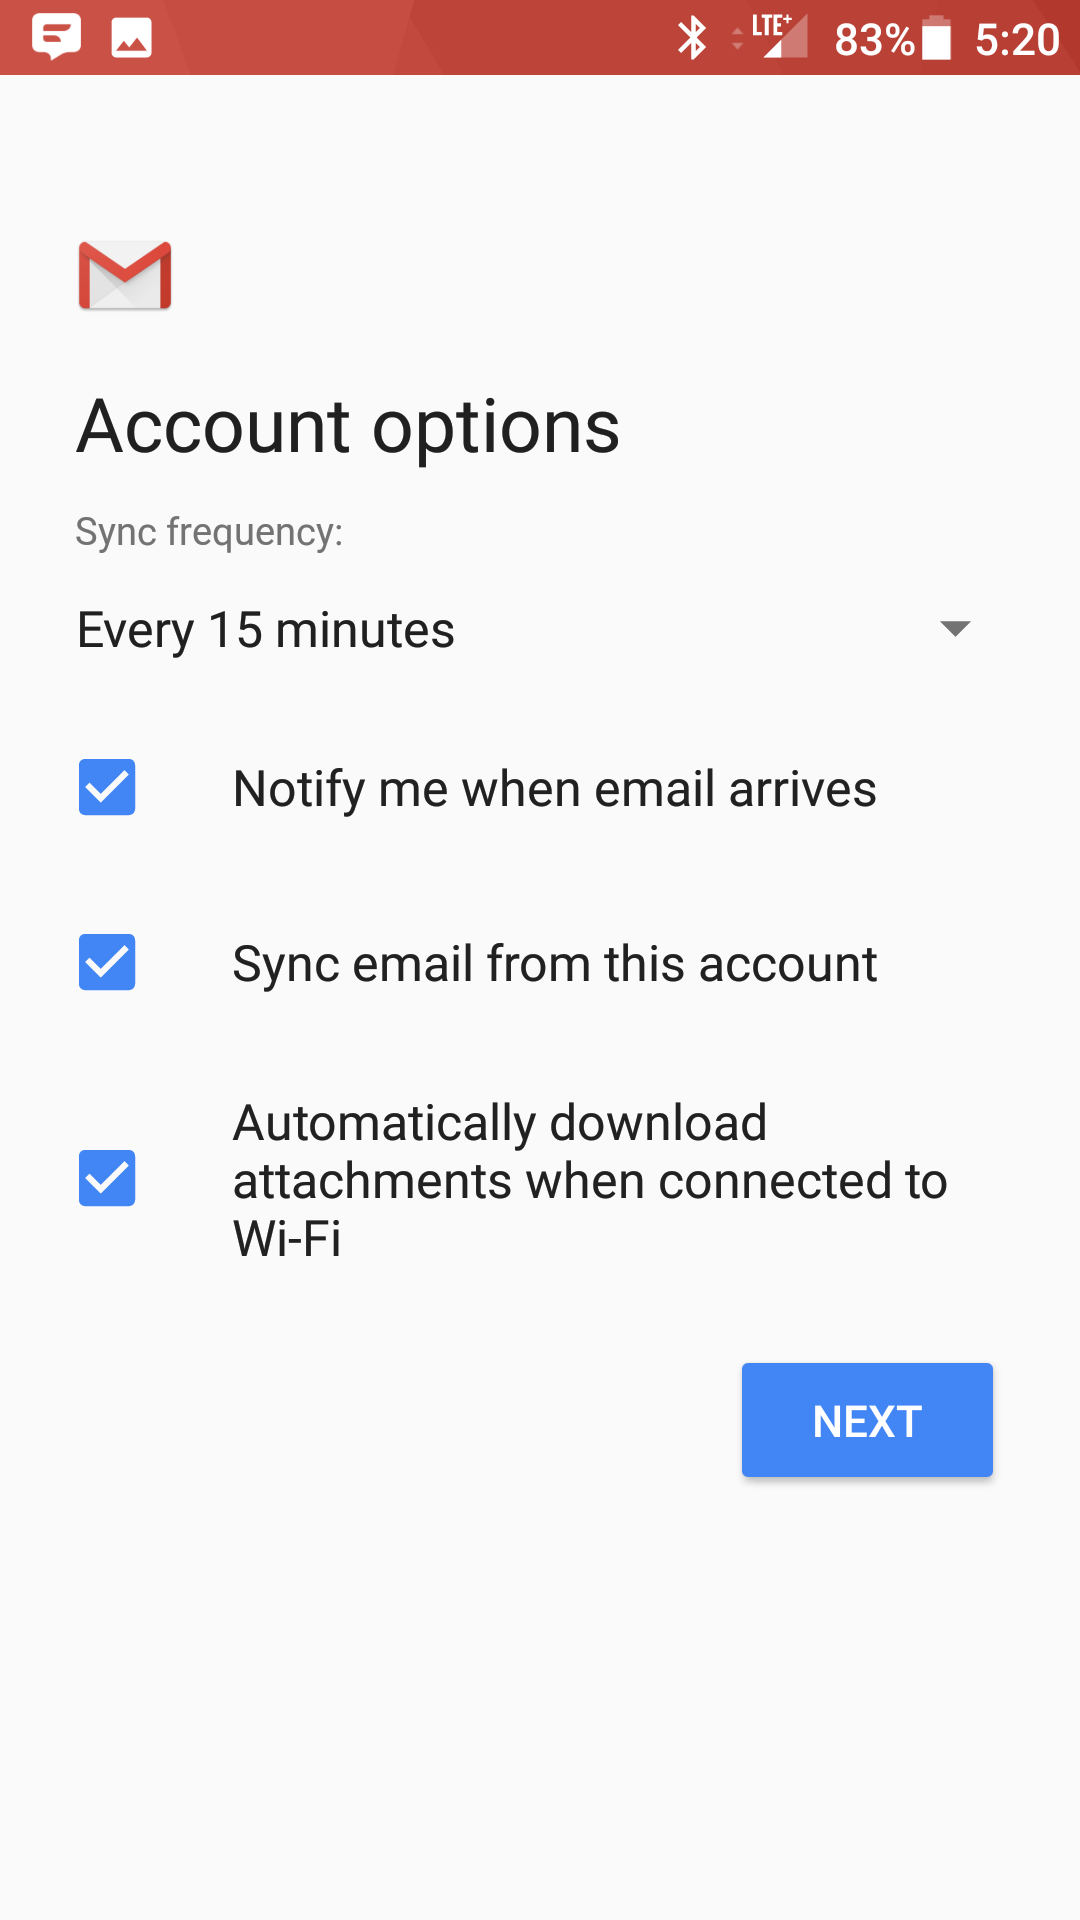
- Select the options desired, and tap Next
- Account Name: Used to distinguish account from others in the device
Your name: Name to be displayed in outgoing messages - Tap Next
- Account Name: Used to distinguish account from others in the device

- You are all set! Go back to the main menu, open the Gmail app and your messages should start syncing. Please give it a few minutes to download data before troubleshooting.
