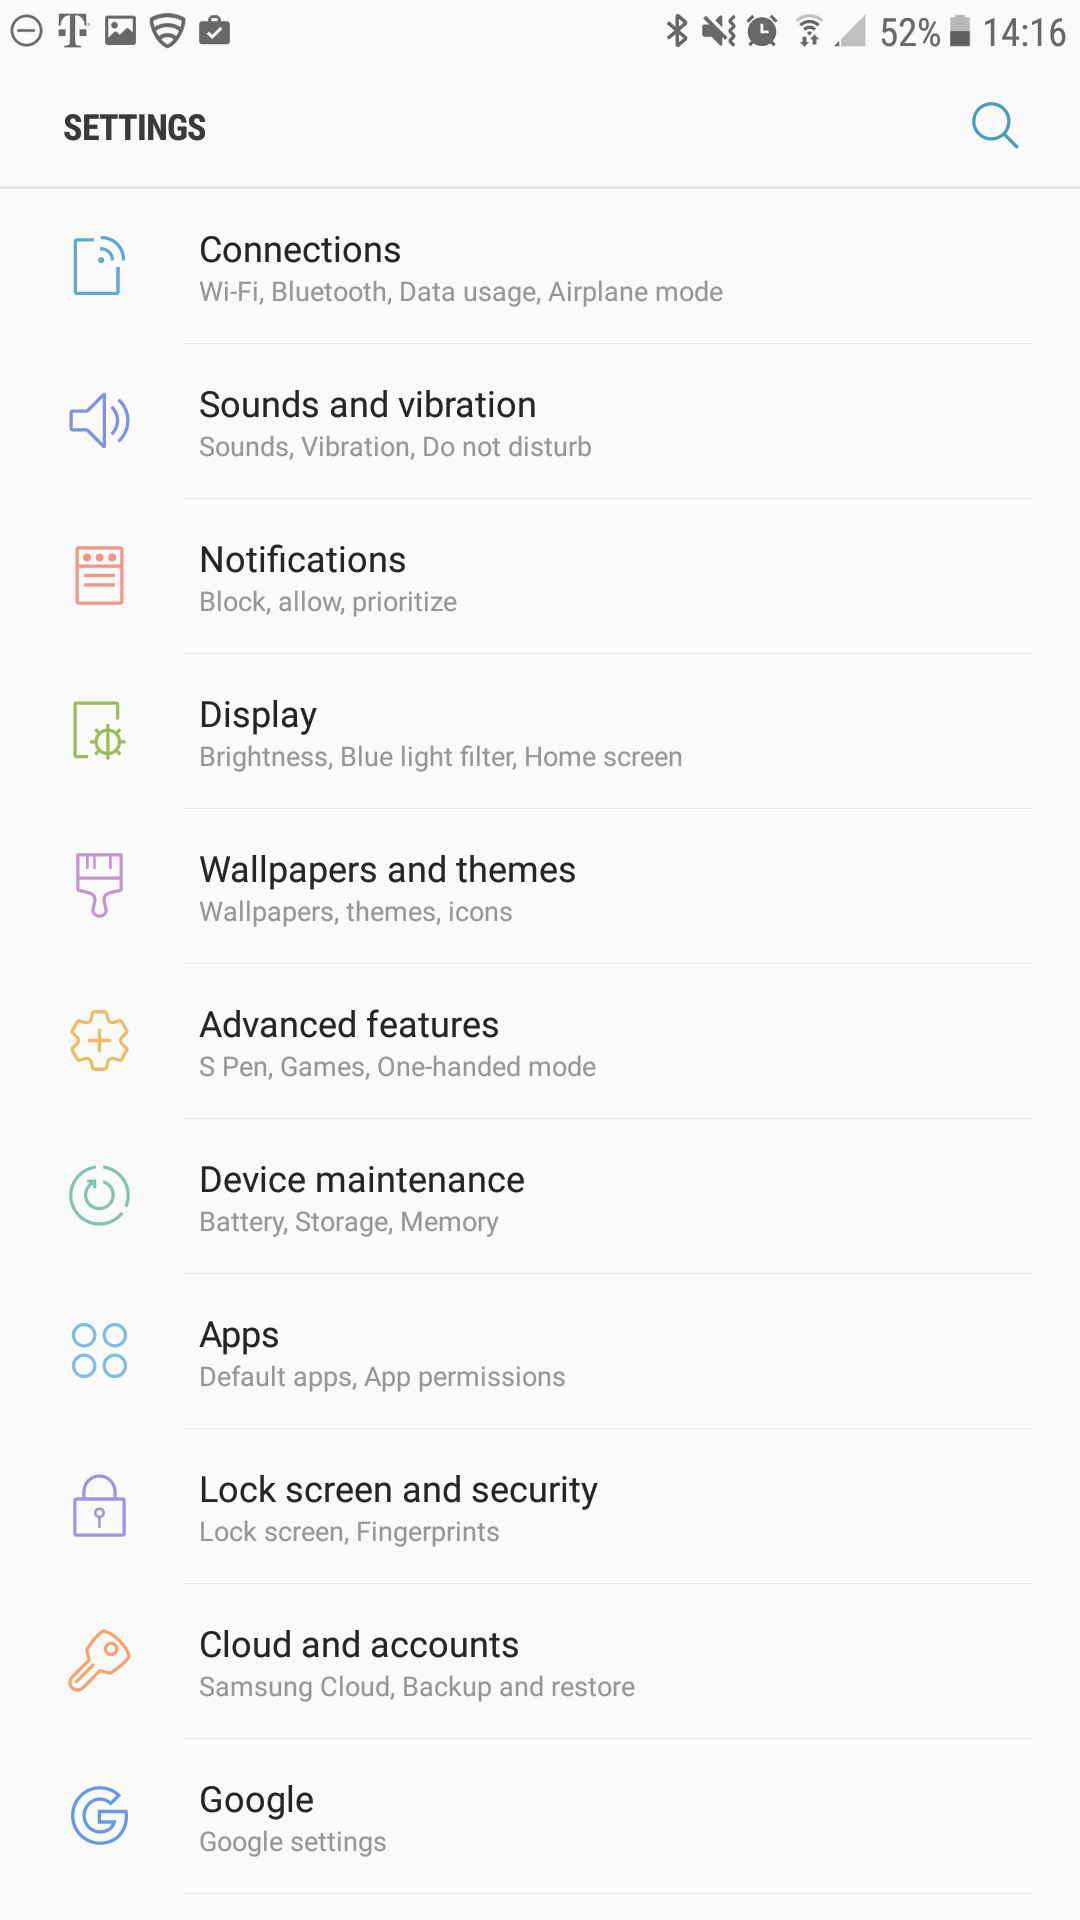
- Launch the Settings app on your device.
- Once it launches, tap on Cloud and Accounts.
- On the next screen, tap Accounts.
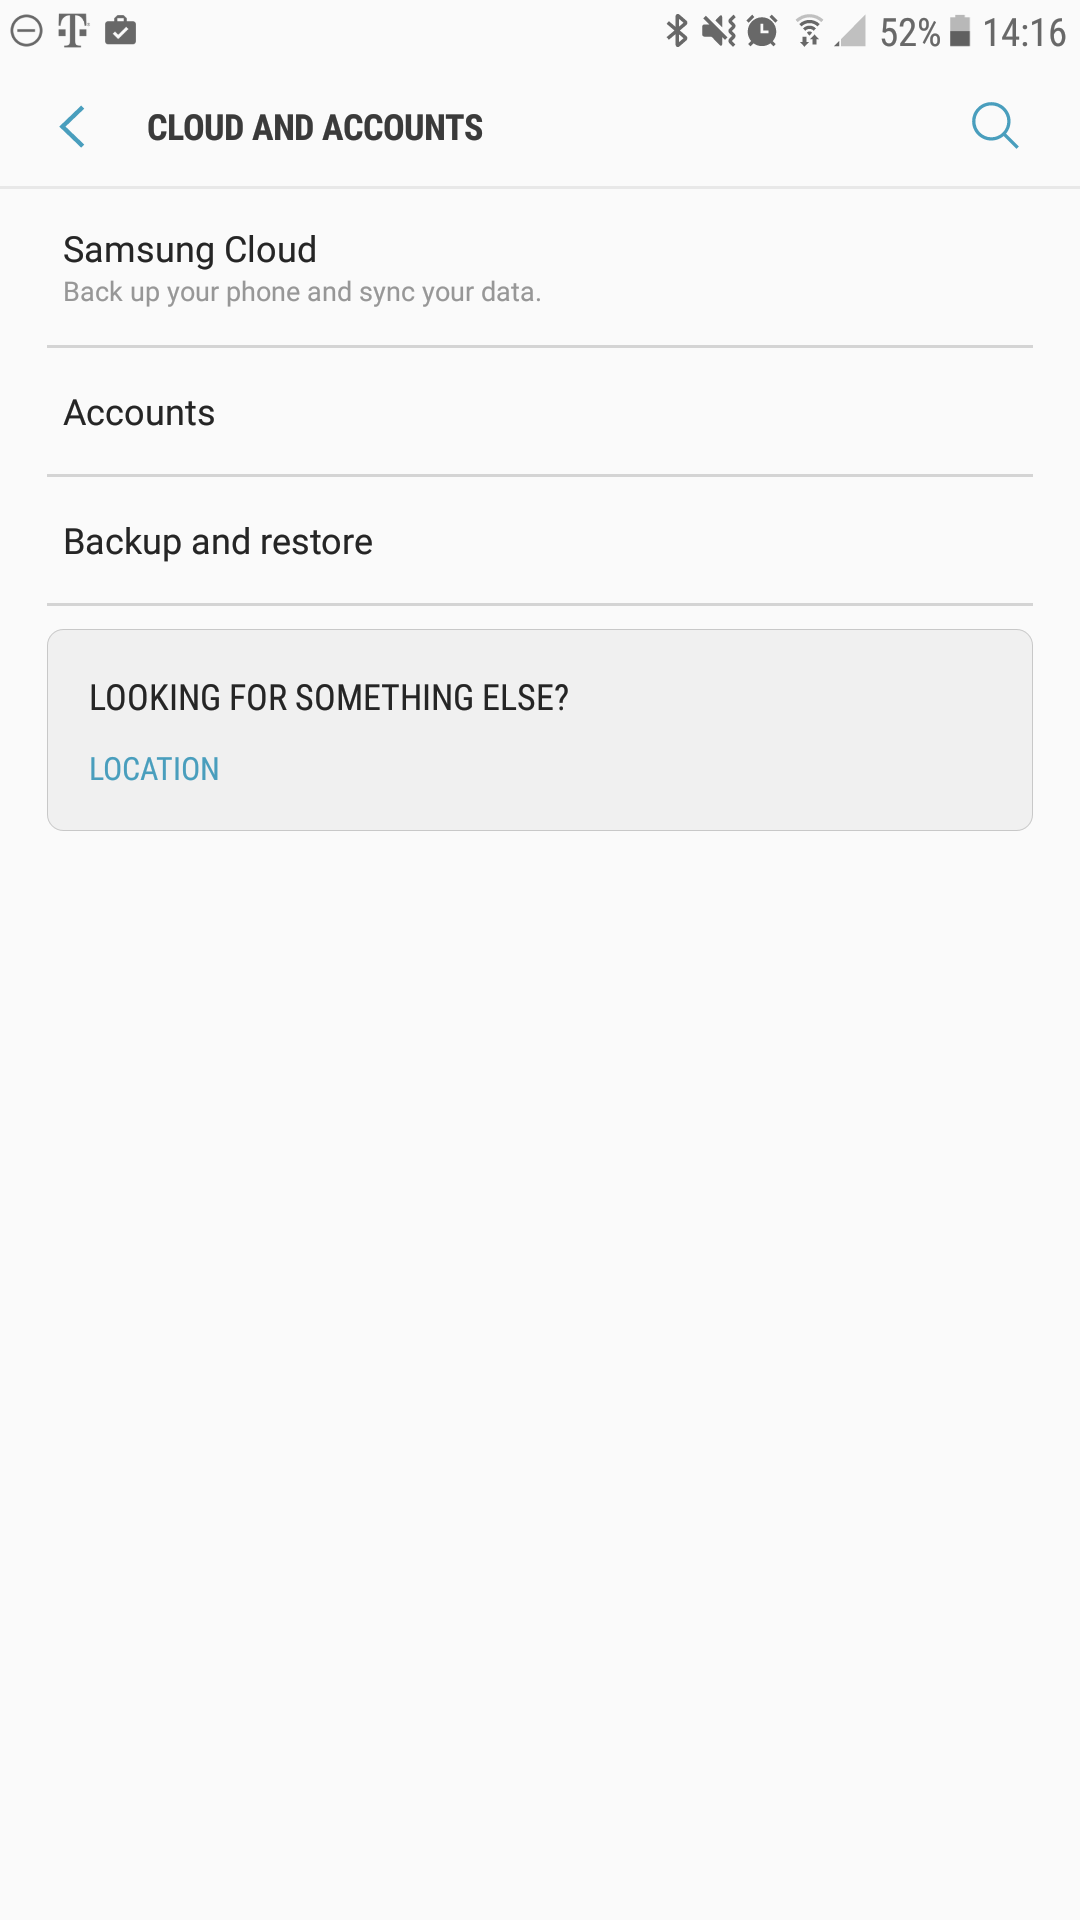
- Tap Add Account
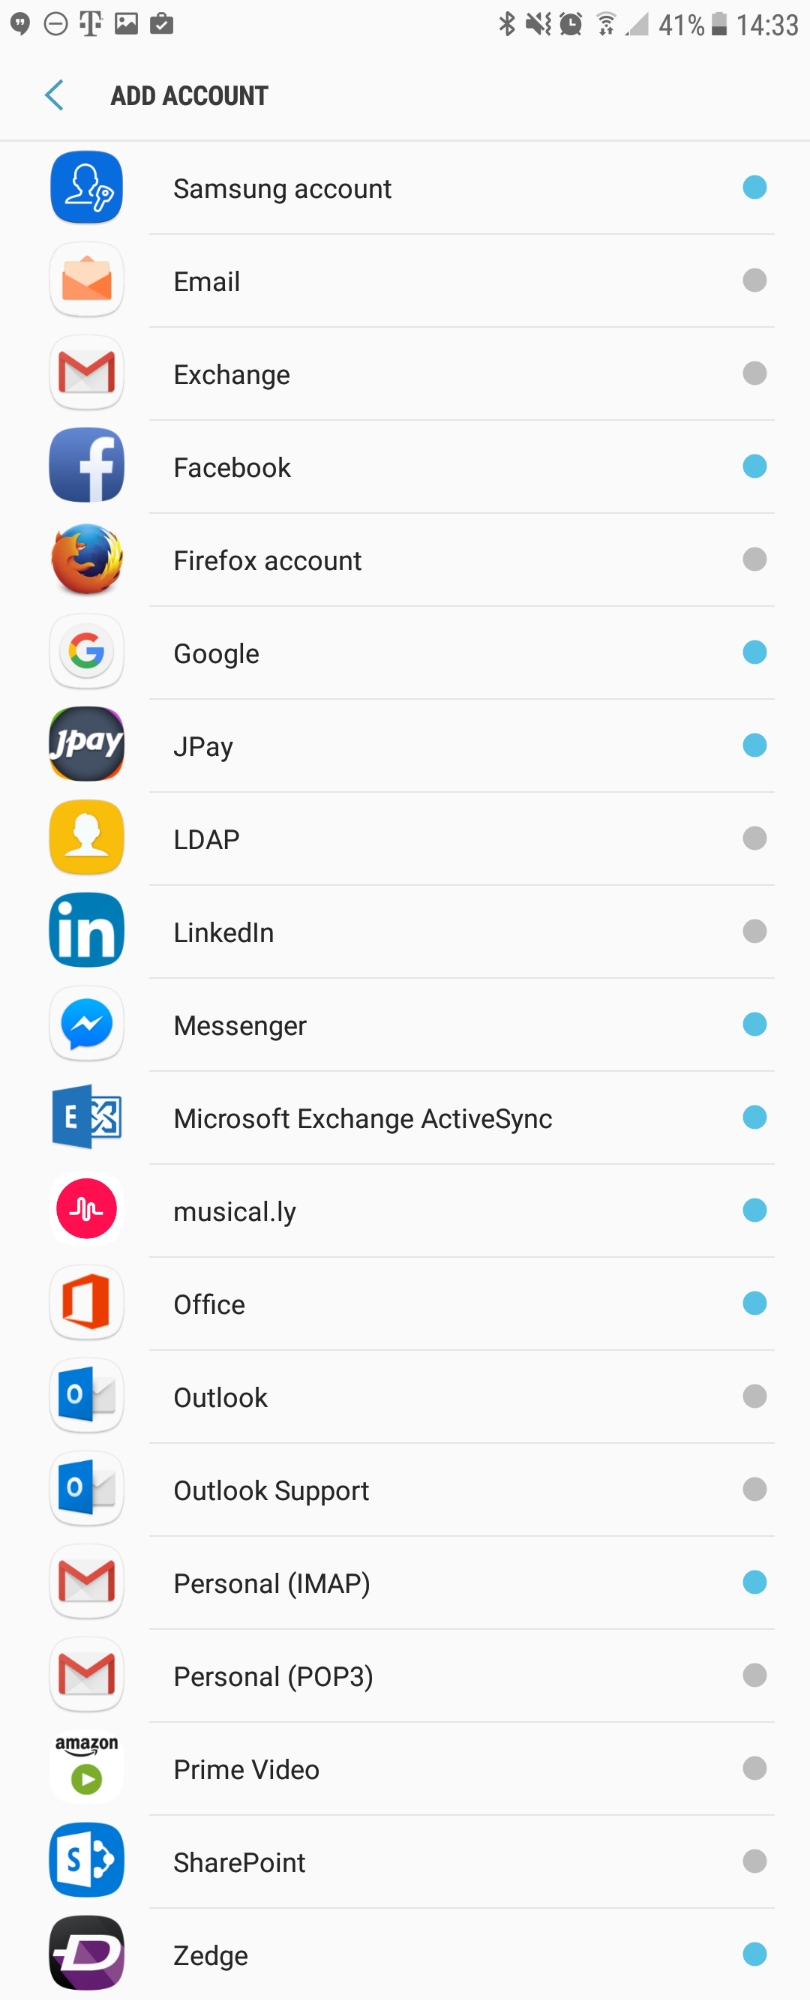
- Select Microsoft Exchange ActiveSync (the blue icon) as the Account Type
- Email address: p@ymoz.com
Password: Your mailbox password - Tap Manual Setup
- Email address: p@ymoz.com
- Enter the following server details:
Email address: Your full email address
Domain\Username: Your full email address with "\" before it. Such as: \name@domain.com
Password: Your mailbox password
Exchange Server: mobilesync.emailsrvr.com
Use secure connection (SSL): Checked
Use client certificate: Unchecked
- Enter the following server details:
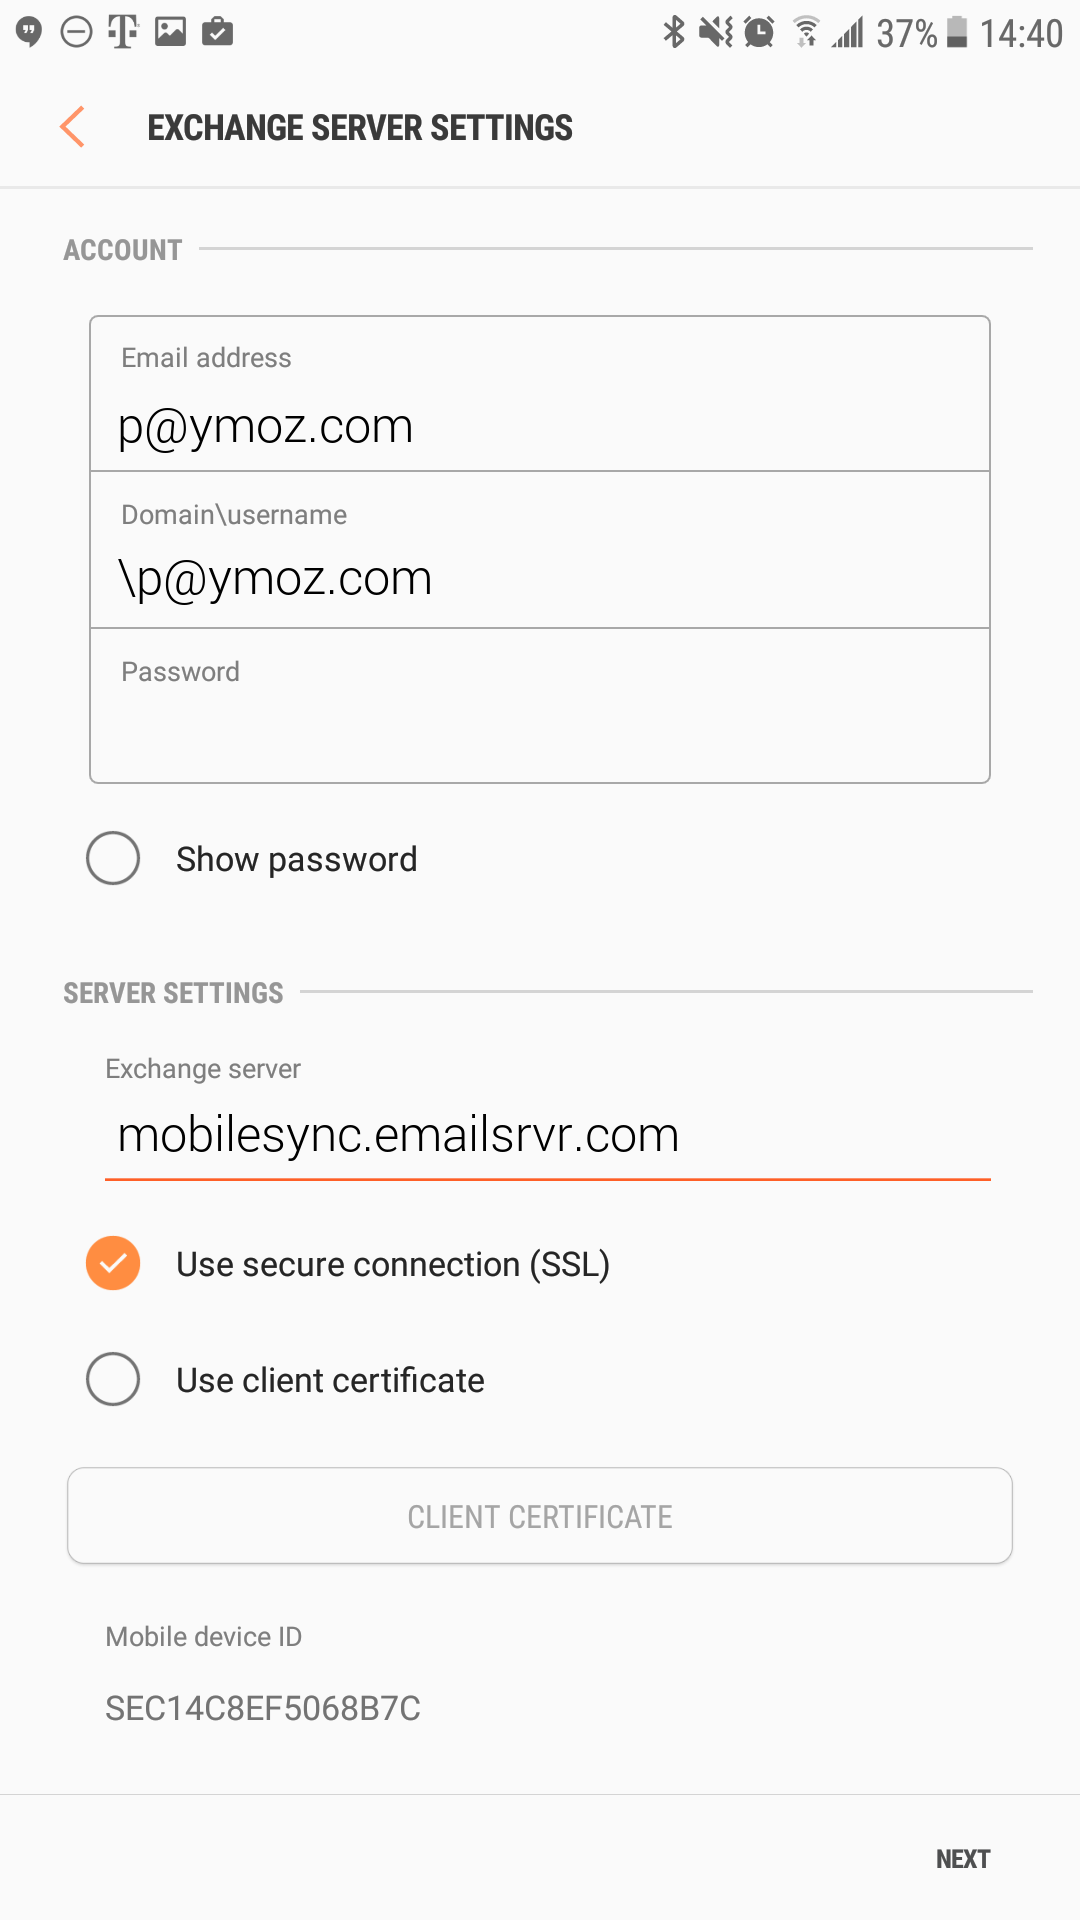
- Tap Next
- You will be prompted to Activate device administator, tap on Activate at the bottom of the screen
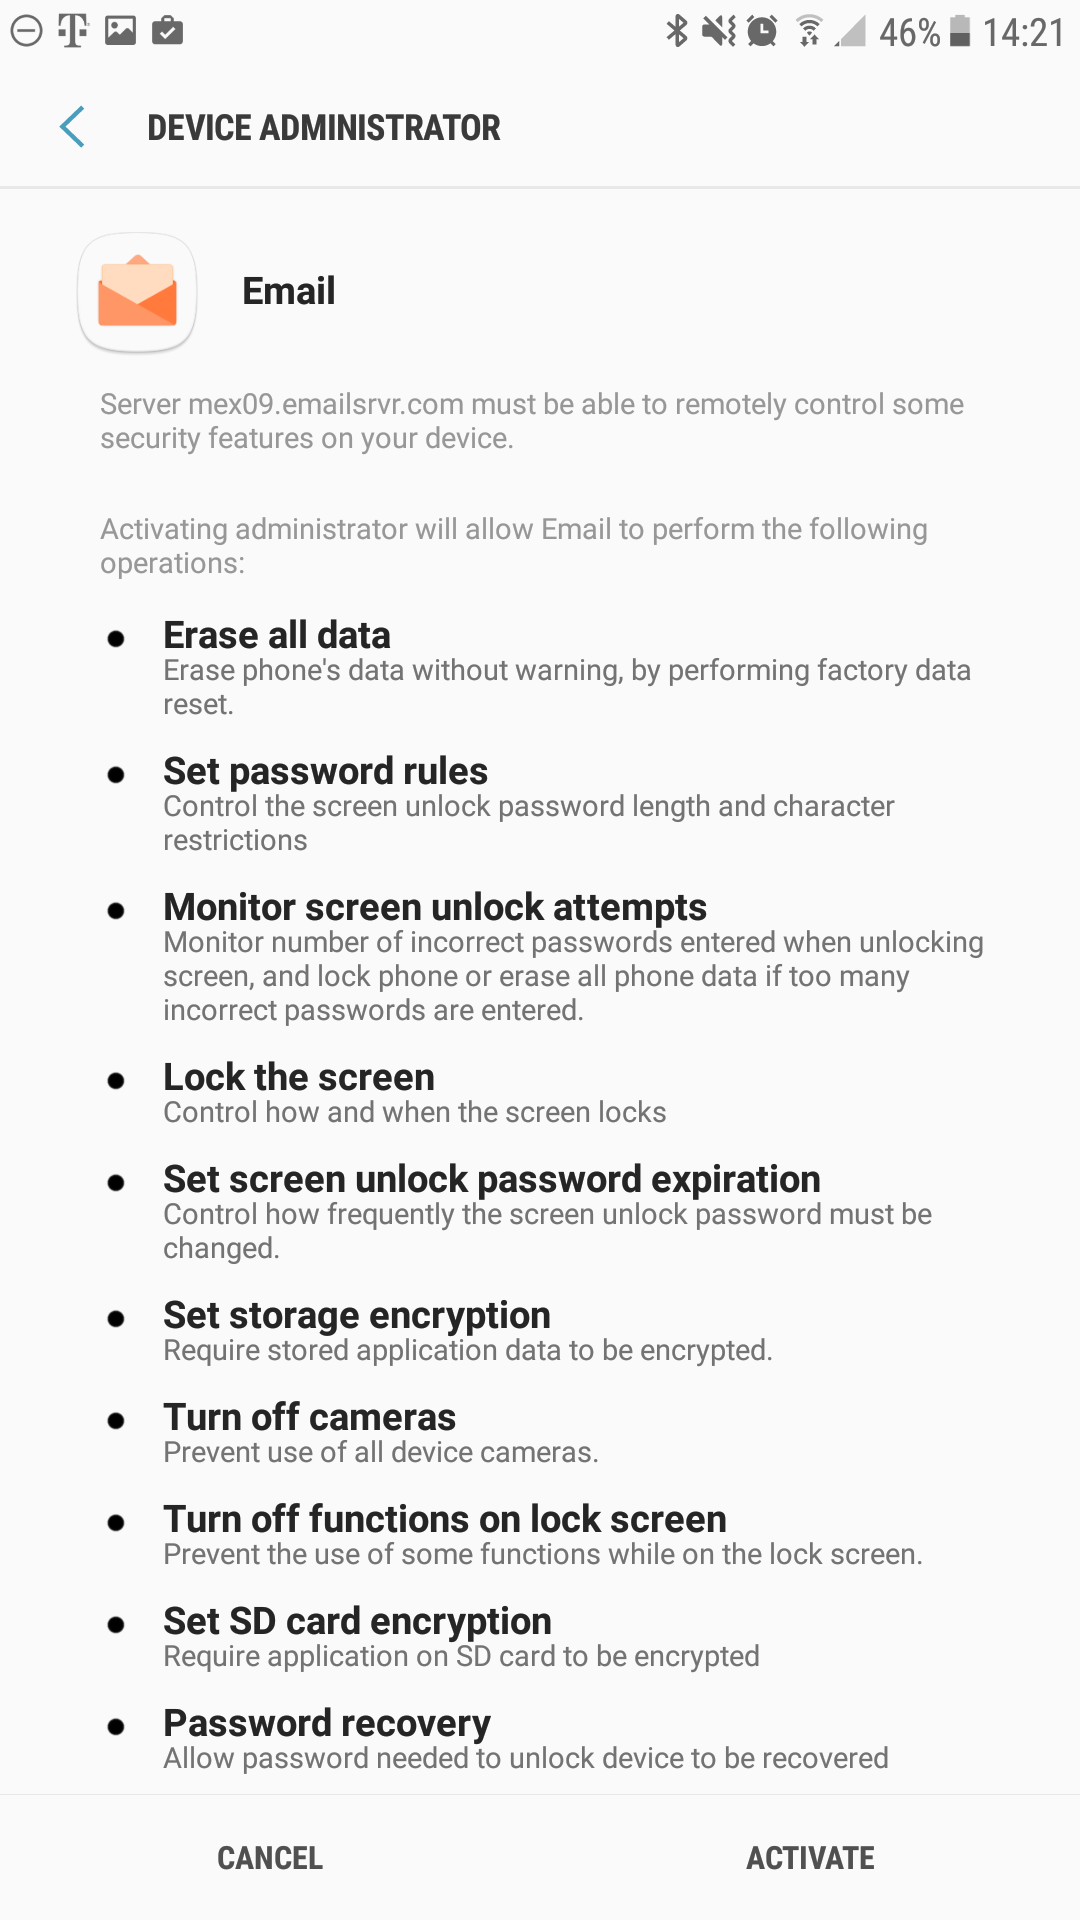
- Modify the settings as desired.

- Tap Next
- Account Name: Name shown on outgoing emails
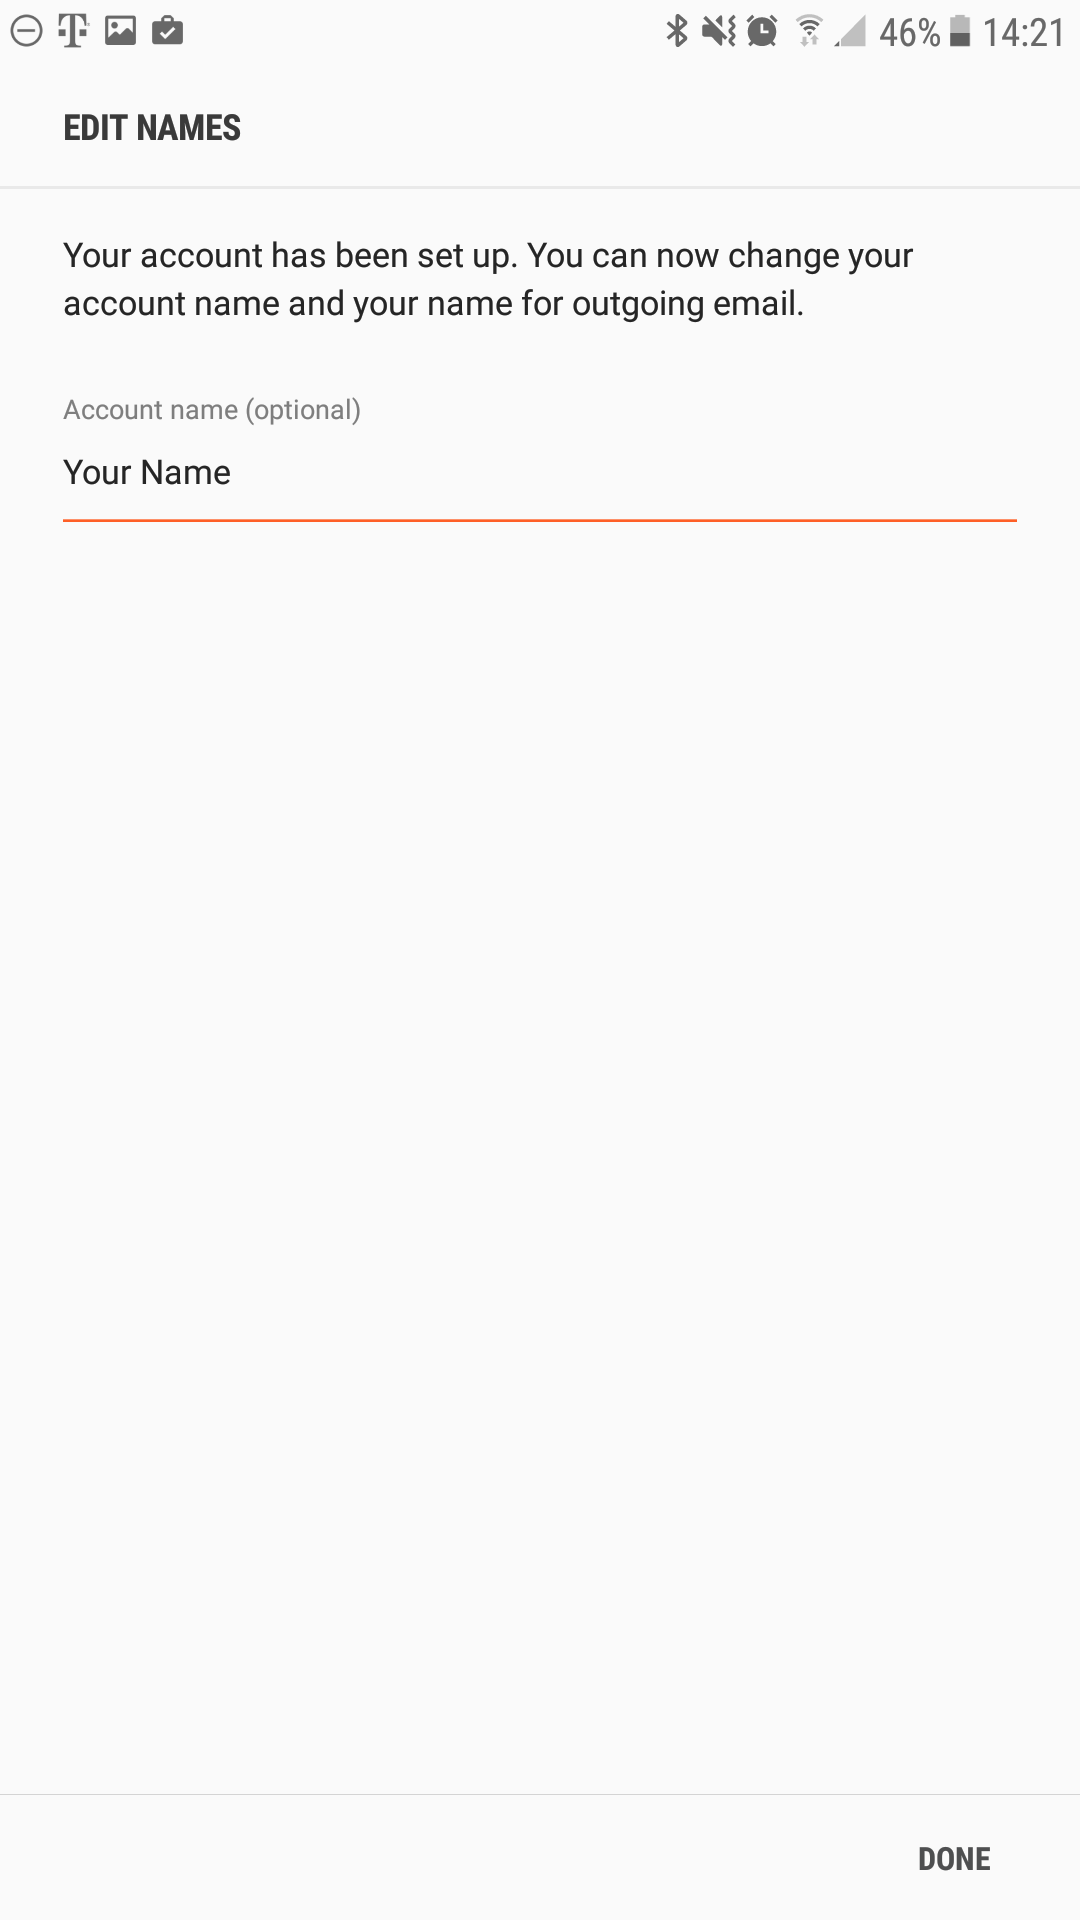
- You are all set! Go back to the main menu, open the Email app and your messages should start syncing. Please give it a few minutes to download data before troubleshooting.
Don't forget about your other devices! Click here to set up a computer, tablet, or phone.
