Android: Generic ActiveSync Setup with Gmail App
This guide will show you how to add your Hosted Exchange email account to the native Gmail app on Android devices.
-
- Launch the Settings app on your device.
- Once it launches, tap on Accounts.
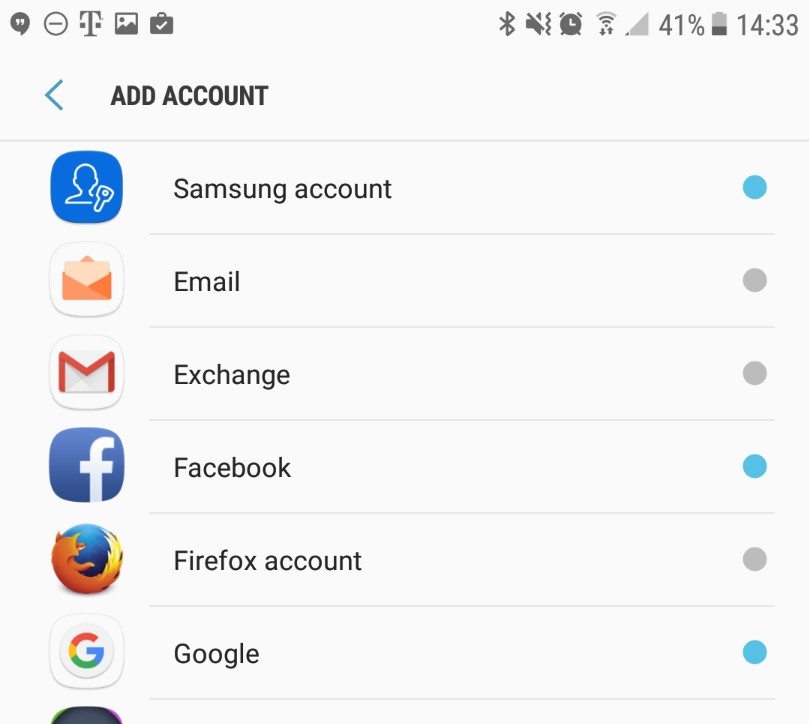
- Tap on Add Account.
- Select Exchange as the Account Type
-
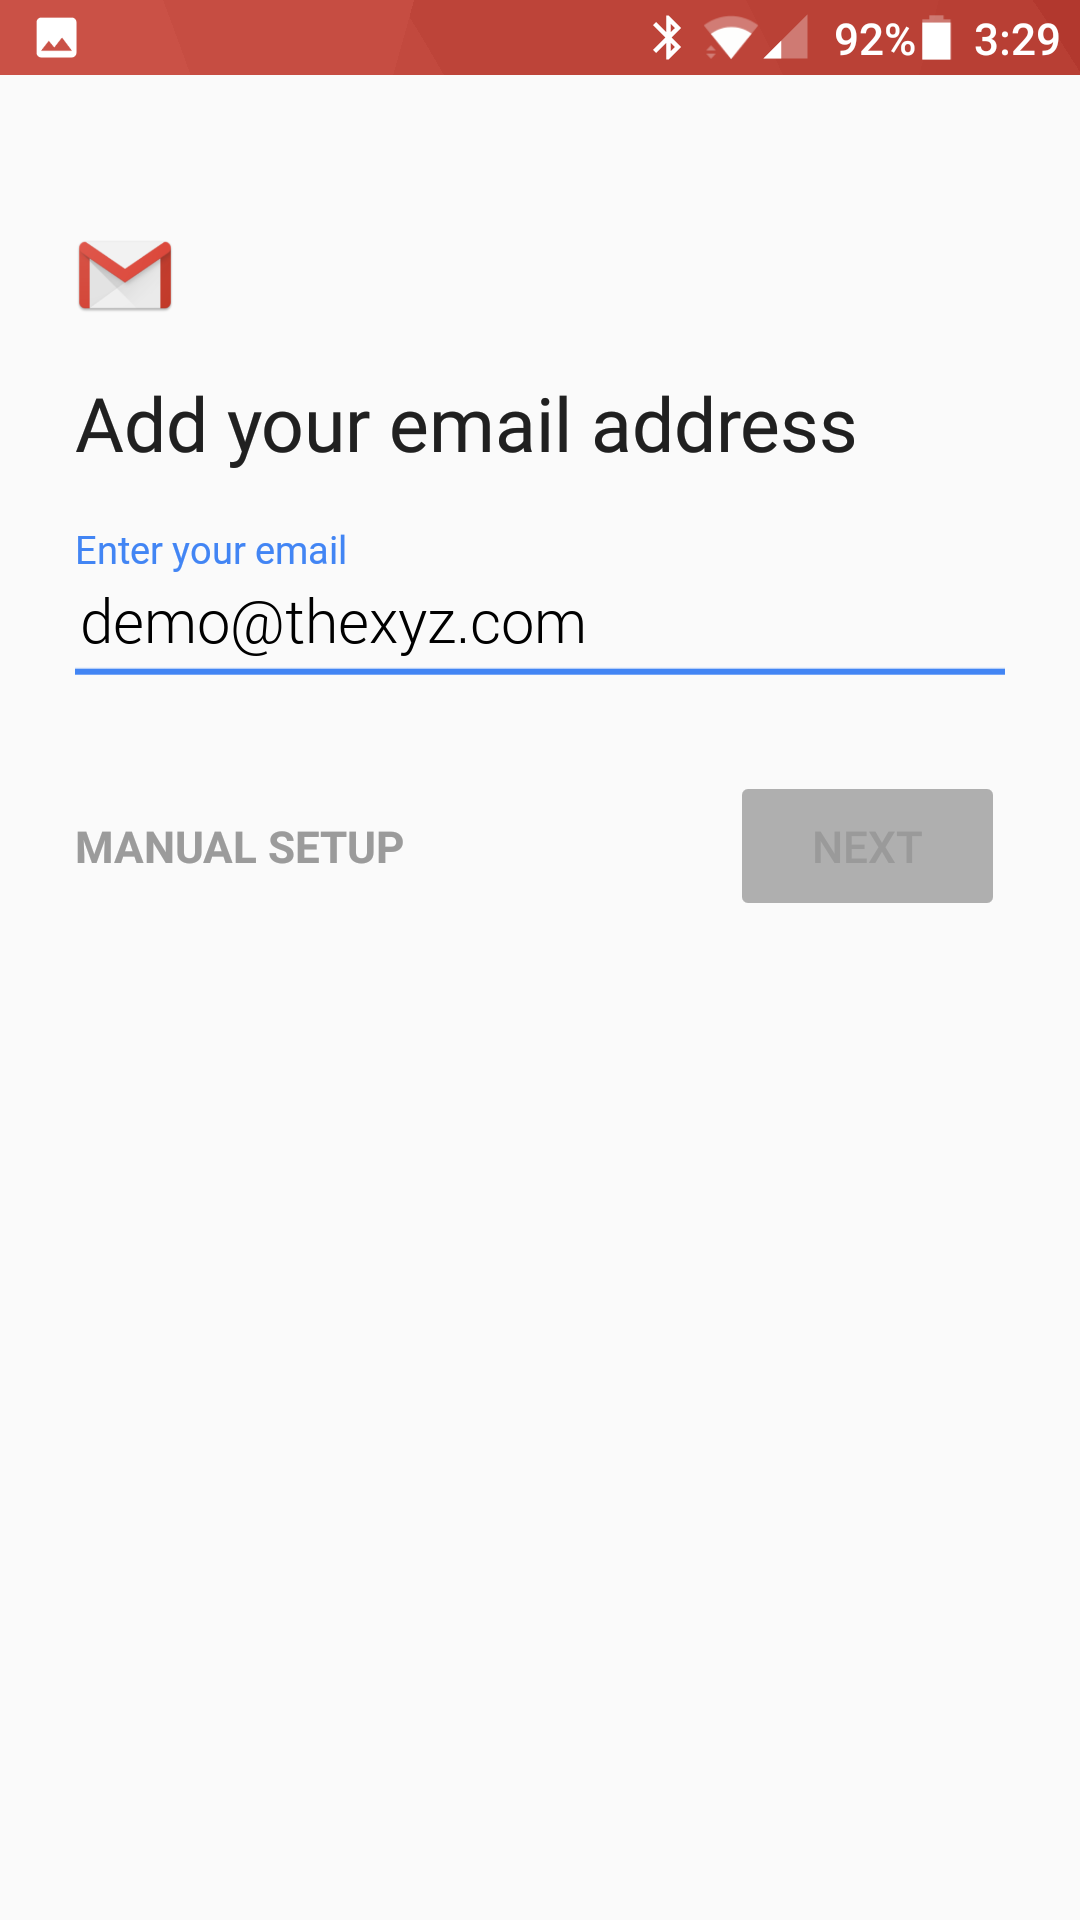
- Enter your email address
- Tap Manual Setup
-
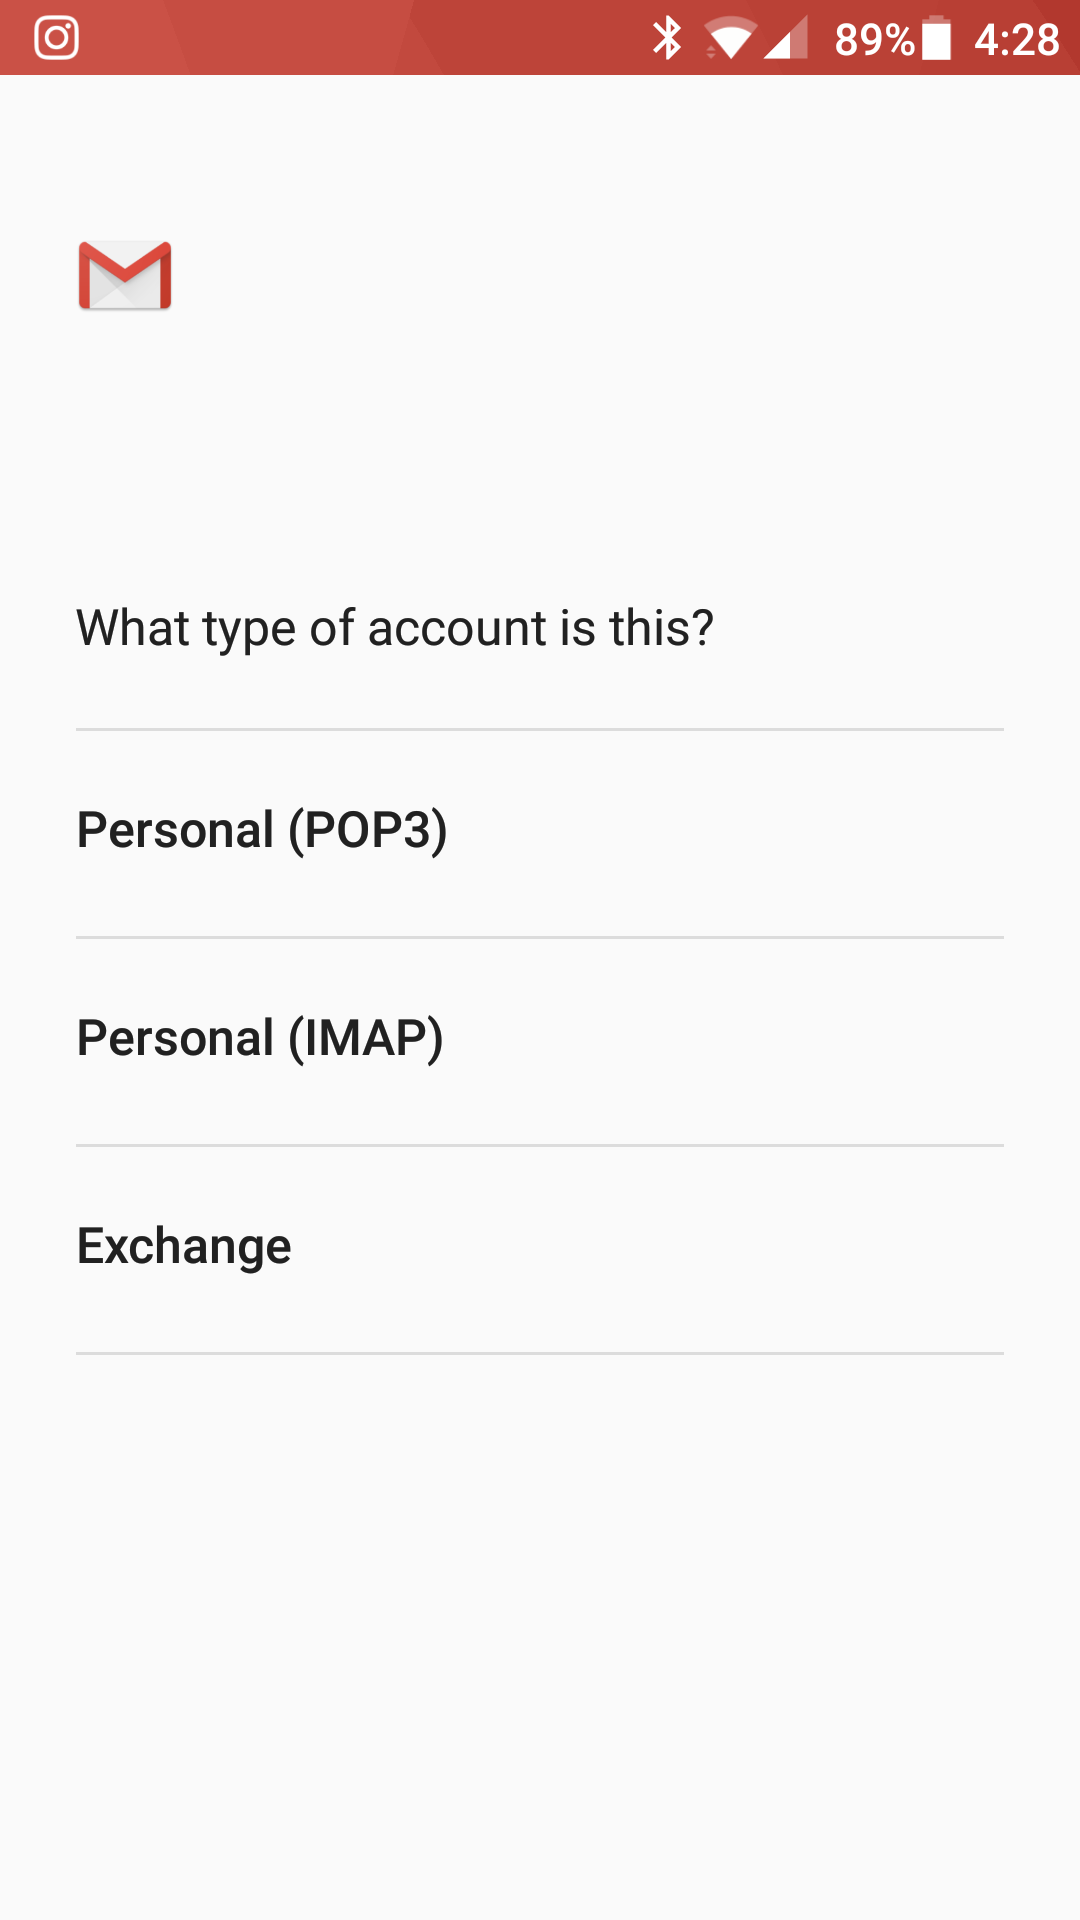
- On the account type chooser, select Exchange
-
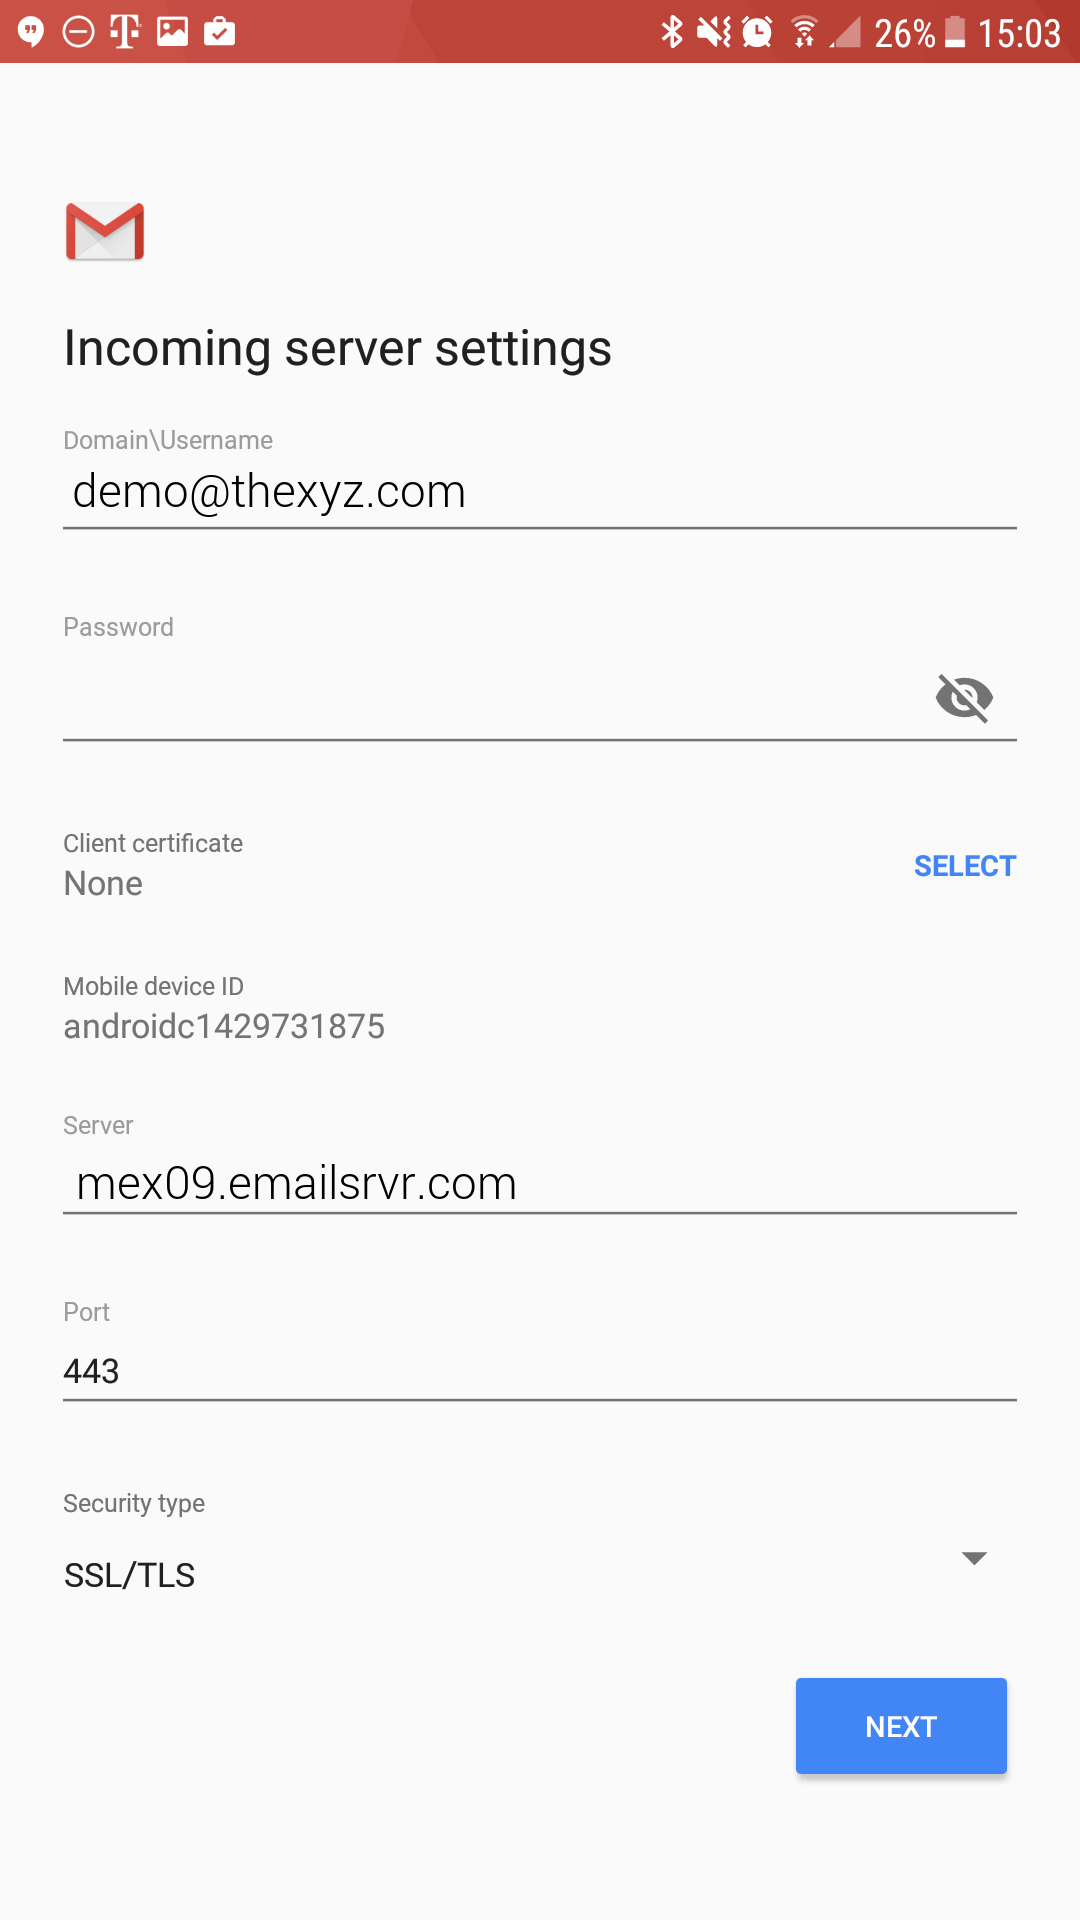
- Enter the following settings: Domain\username: Your full email address Password: Your mailbox password Server: mex09.emailsrvr.com Port: 443 Security Type: SSL/TLS
-
- Tap Next
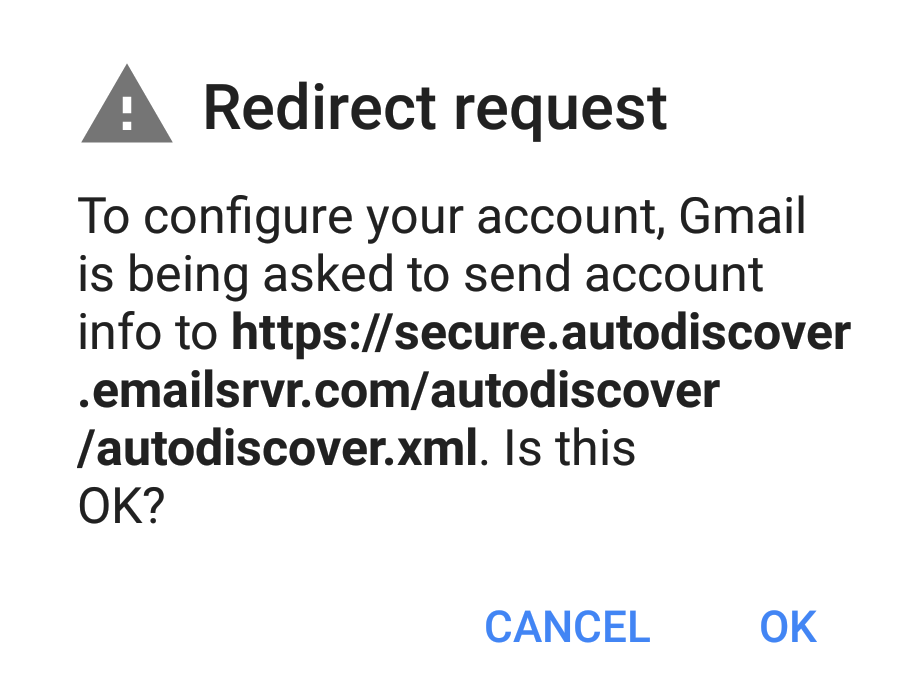
- If prompted with this message, click OK
-
- Tap Next
- You will be prompted to Activate device administrator, tap on Activate at the bottom of the screen

-
- Type your name to finish, and tap Next
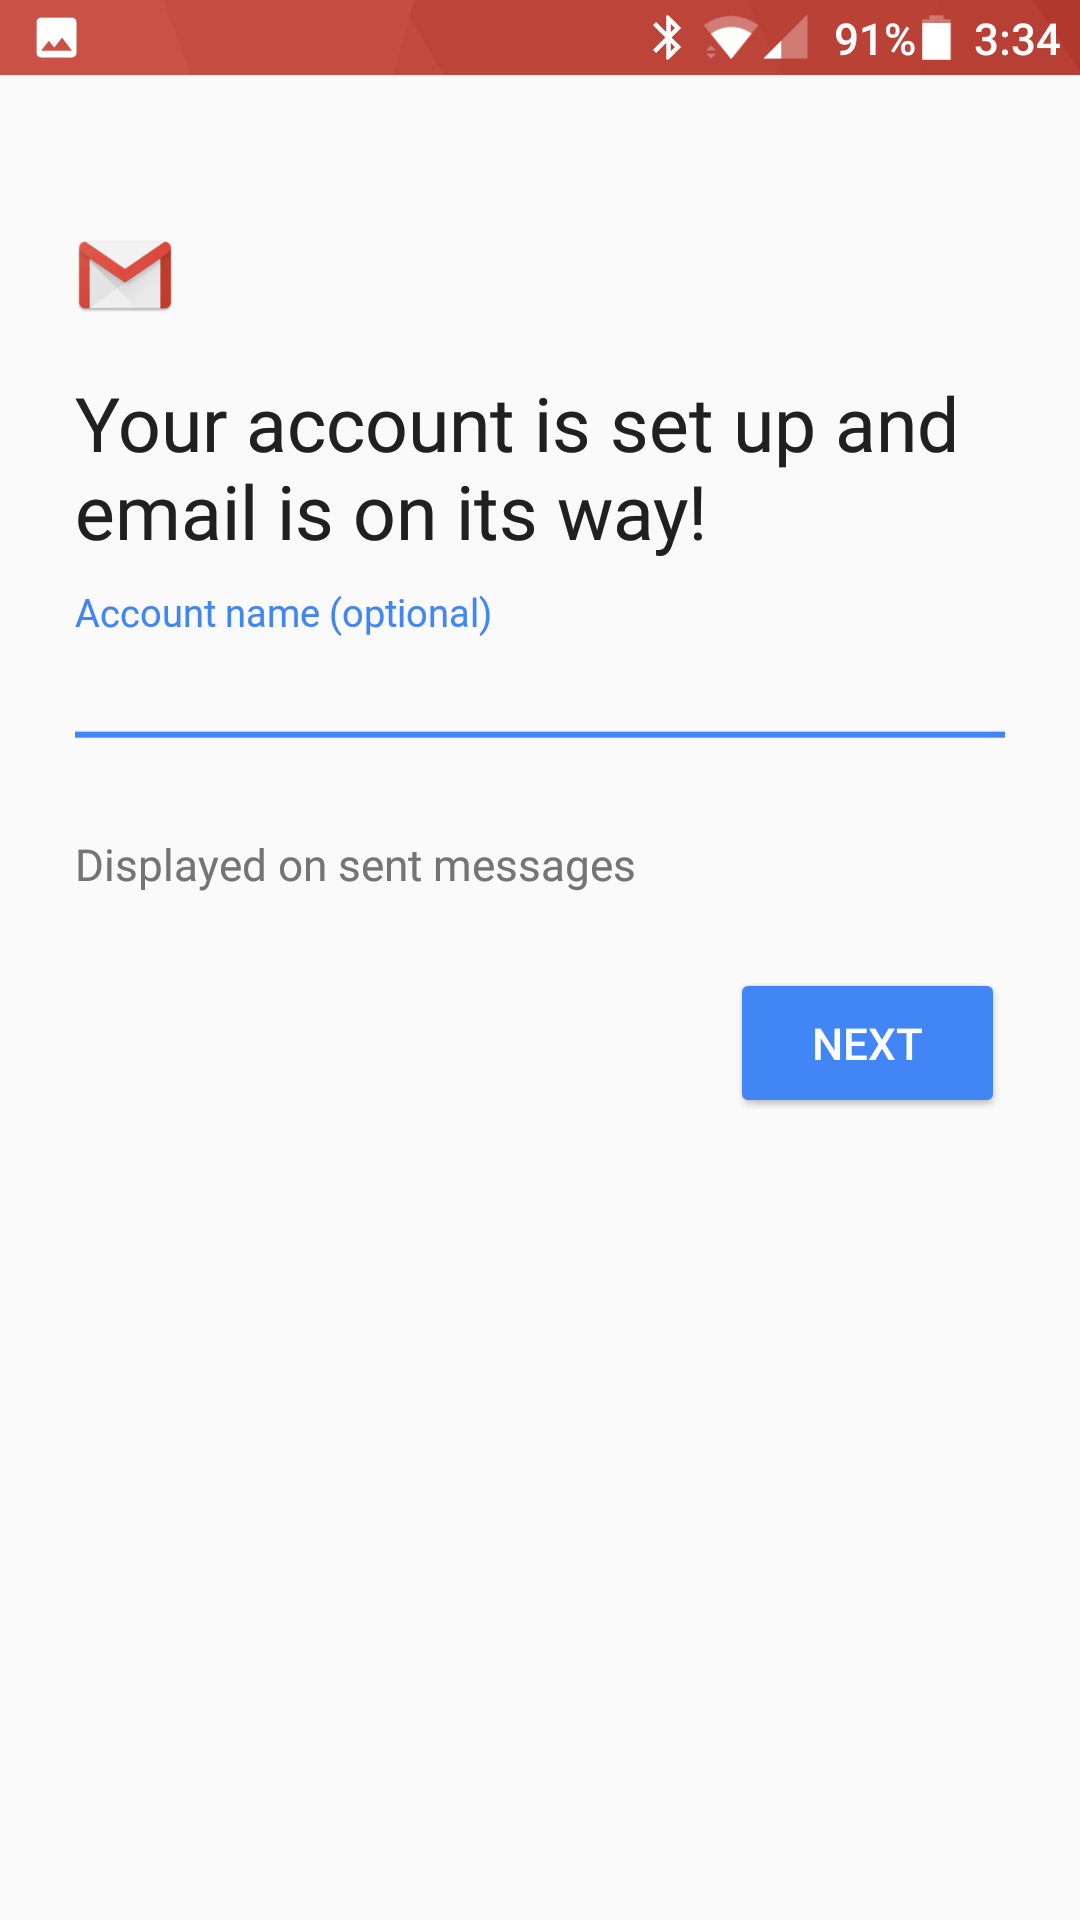
- You are all set! Go back to the main menu, open the Gmail app and your messages should start syncing. Please give it a few minutes to download data before troubleshooting.
