Adding a mailbox to your domain
This guide assumes you recently purchased an email service for your custom domain name. If you are an existing email administrator, you may want to refer to, Create a new mailbox through the email admin portal.
- Log in to Thexyz Client Area using your email ID used during the sign-up process.
-
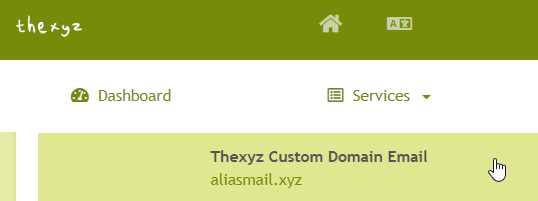
In the Services section, locate the email hosting and click on it to manage the service.

- On the next screen, you can click the Managing Mailboxes button.

- On the next screen, click Add Mailbox.
-
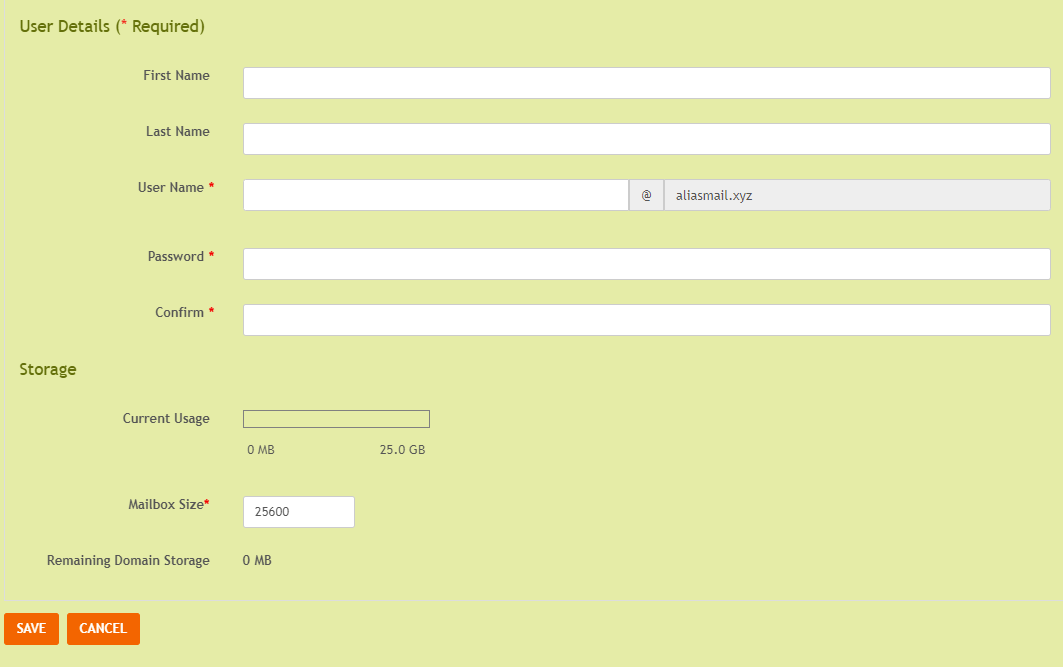
Enter the following information in the fields provided:
- First Name and Last Name (optional): Enter first and last name information for the mailbox owner.
- Display Name (optional): Enter the name to display when the user sends an email.
- User Name: Enter the name to use in the email address.
- Password: Enter a password for the email account using the following requirement
- It must be at least eight characters.
- It must use characters from at least three of the following four character types:
- English alphabet uppercase letters (A-Z)
- English alphabet lowercase letters (a-z)
- Numerals (0-9)
- Non-alphanumeric symbols (such as !, #, $, %)
- Confirm: Retype the password that you entered in the Password box.
-
Click Save.

-
Note: After a mailbox is created in the Email Admin Control Panel, it can take up to 15 minutes for the mailbox to become accessible. You can then log in to the mailbox through Webmail at webmail.thexyz.com
The mailbox appears in the mailboxes list. To manage additional features for the mailbox, such as forwarding, autoreply, aliases, or settings, click the mailbox name and then click the corresponding tab on the details page.

