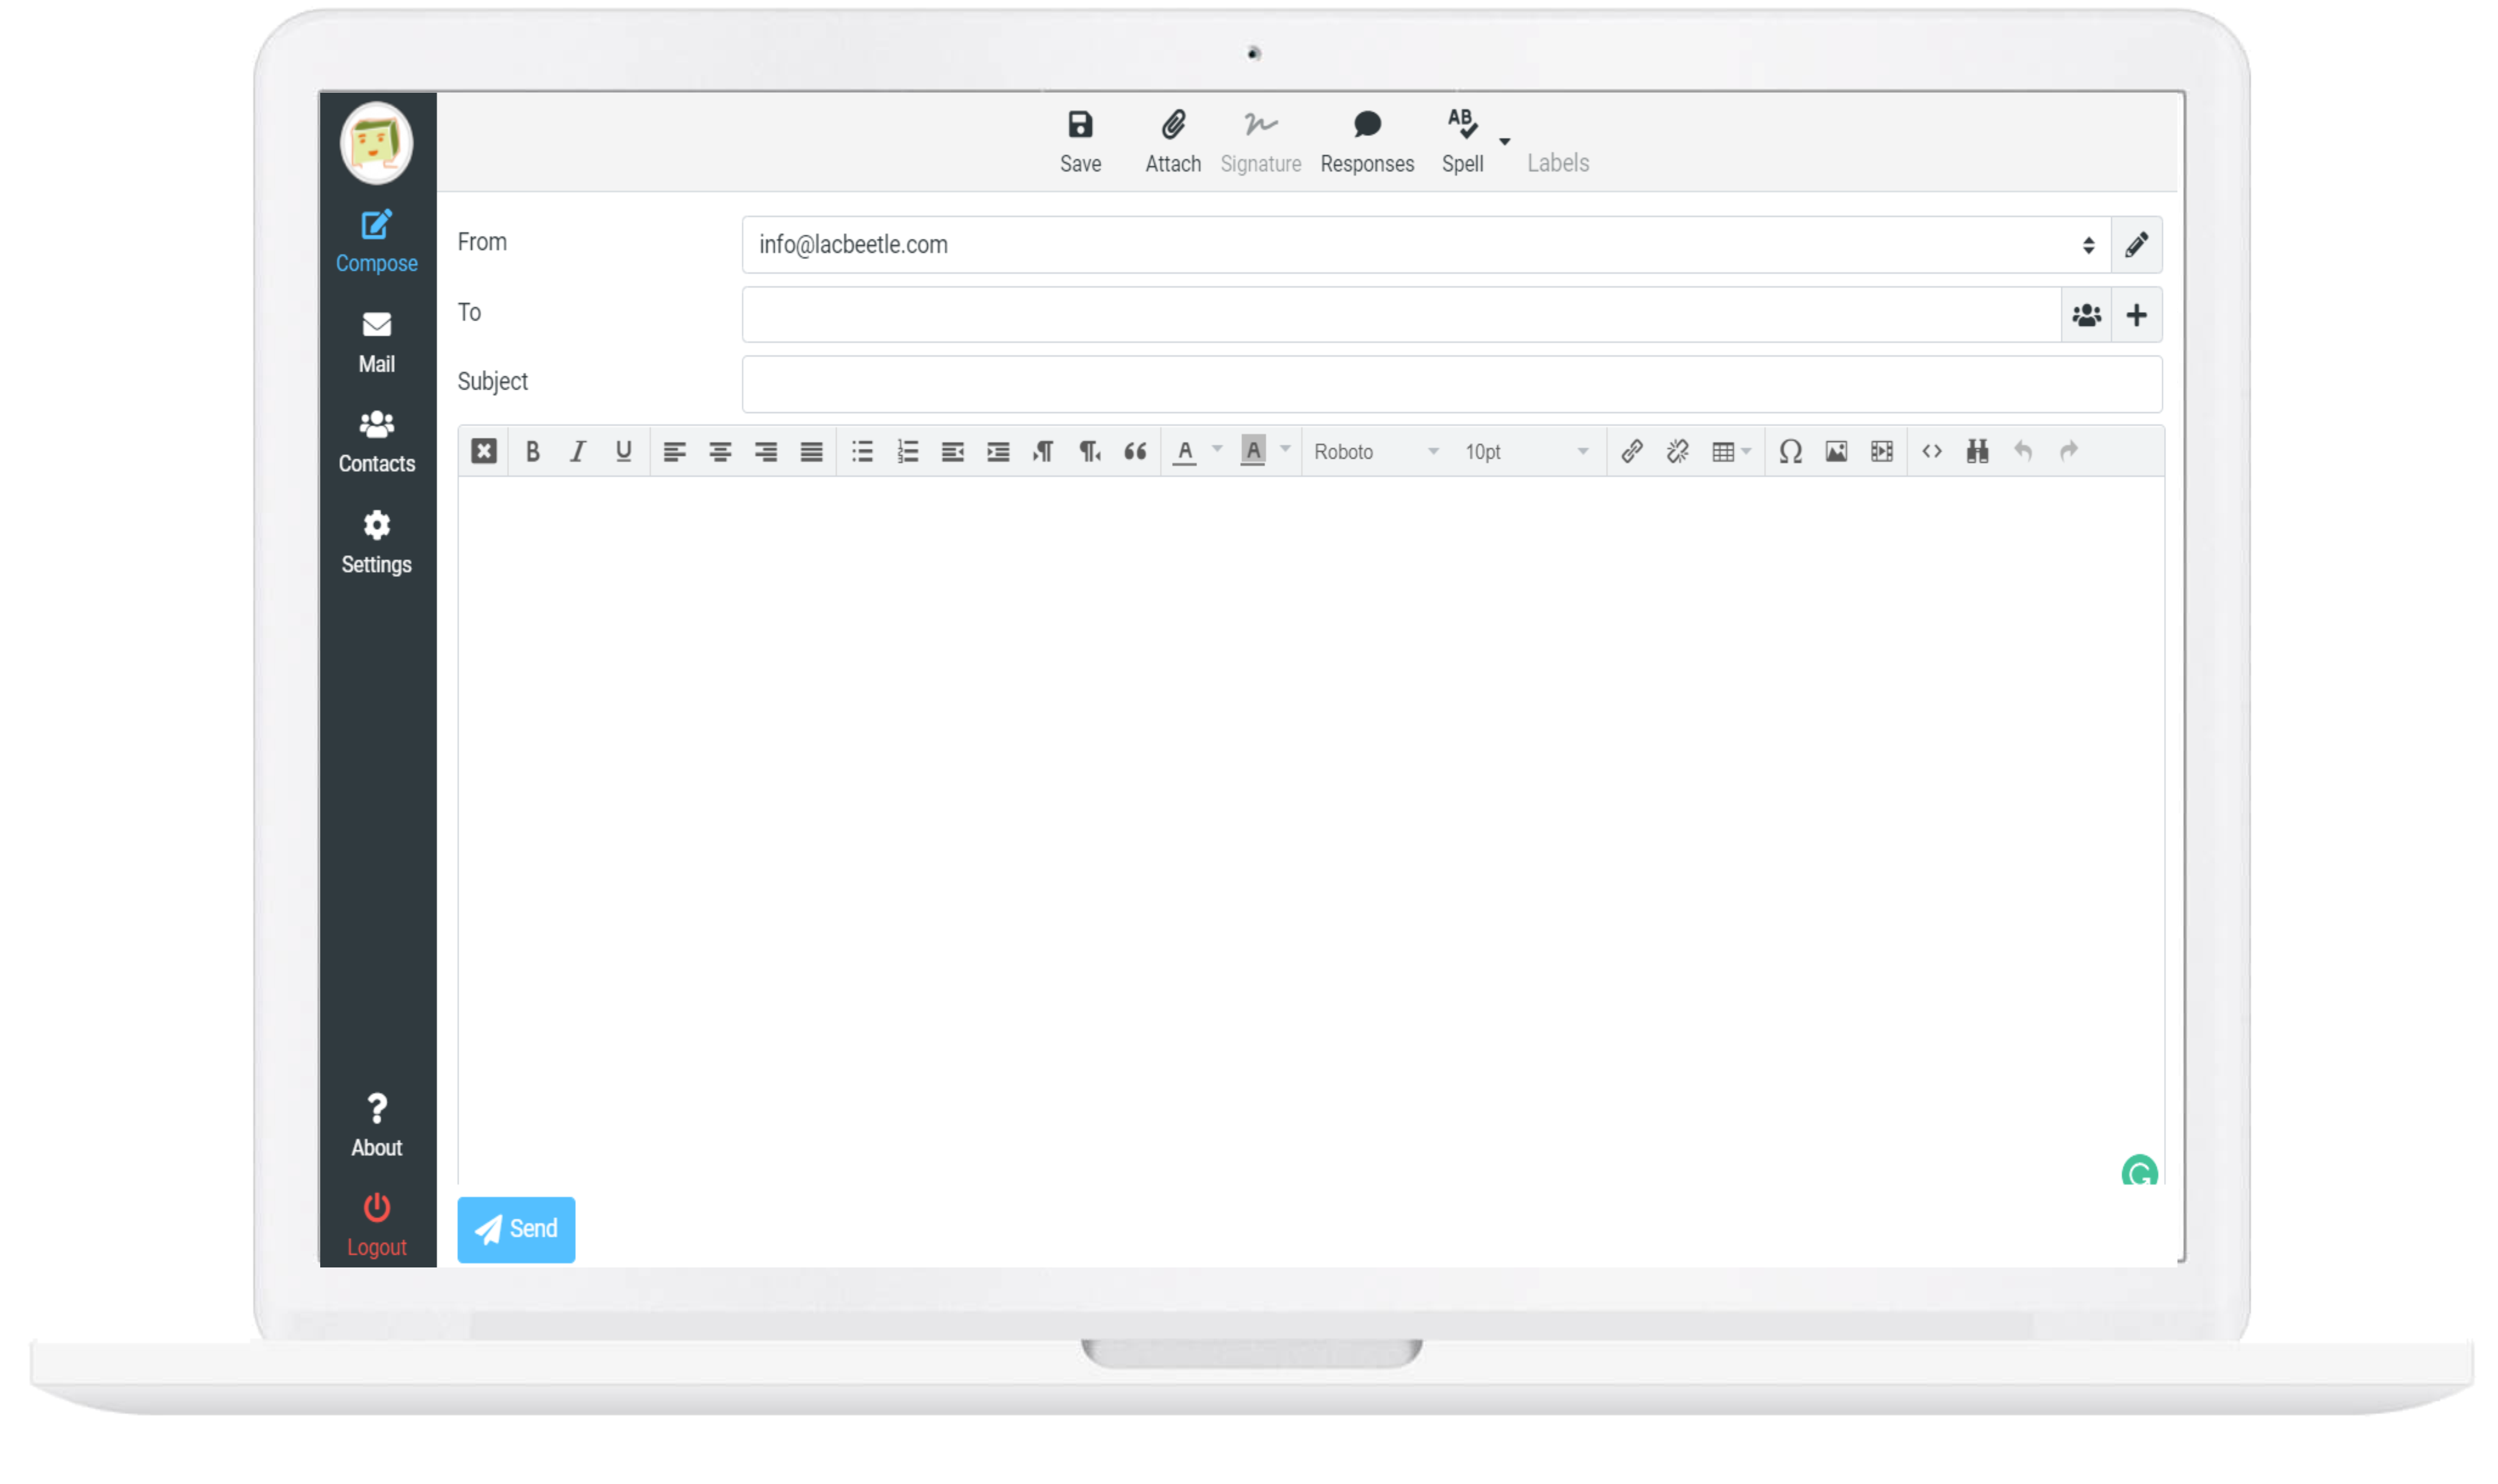
Easy to use Roundcube Control Panel
Attaining full control over your custom domain email is now effortless with the open-source Roundcube application. Set up multiple email boxes in seconds, manage multiple domains from one central place, and organize your contacts efficiently with the integrated Address book. Choose your datacenter locations from the USA, UK, Finland, Bulgaria, and Australia.

Graduated usaged-based billing per gigabyte.
Easy Add-ons
Pay only for add-ons that are being used.
Roundcub Upgrades
Upgrade your instance as required.
- Add Additional 20GB $12.50
- Add 500 Mailboxes $4.00
- Email Aliases Unlimited
- Additional Domains $2.50
Frequently Asked Questions
On our shared hosting platform with full support for Roundcube's user interface, we prioritize high-quality and speedy email delivery. To maintain this standard, we've set the following limits for outgoing emails:
- Hourly Limit: You can send up to 150 emails per hour.
- Daily Limit: A maximum of 1500 emails can be sent in a 24-hour period.
- Recipients Limit: Each email can have up to 50 recipients. Note that each recipient is counted as a separate email. For instance, an email with 50 recipients will be counted as 50 sent messages.
- Mailing List Exception: If you're sending out to a mailing list, the restriction is set at 1500 emails over 24 hours without an hourly limit. This means you can send an email to a mailing list with up to 1500 recipients at once.
If you exceed these limits, you'll encounter an error message: "550 – Stop, you are sending too fast!" Once the respective hourly or daily period has passed, you'll regain the ability to send emails.
Our web server ensures the secure transmission of your HTML messages with free SSL. Additionally, Roundcube's user interface allows you to manage multiple sender identities seamlessly.
Email address - Here you enter the name for your mailbox, which is the part of your email address before the @. Next you choose one of your hosted domains from the drop-down menu on the right. The domain would be the part of your email address after the @.
Password - Here you need to enter the password for your mailbox. You will be using this password to login to the webmail and also when you setup your email account in Outlook and other email clients.
Forward email - If you select this option, you will be able to enter an email address where all messages received in your new mailbox will be forwarded to. There is also a "Save a copy" option. If you select it, a copy of every message that is forwarded will also be saved in this mailbox. You will be able to setup email forwarding later.
Use Autoresponder - Select Auto-Reply option if you want to enter an auto-reply message, which would be sent back to anyone who sends you an email. Usually this option is used to setup a message informing people that you are on vacation, for example, so it is unlikely that you need this right now. You can setup an auto-responder at any time. (see: How to set an auto-reply message to my e-mail account?)
When you are ready, you can click the Add a Mailbox button to create the mailbox. It will appear in the list of Mailboxes.
| Incoming Mail Server: | mail.thexyzserver.com |
| Incoming Mail Server IMAP Port: | 143, 993 |
| Incoming Mail Server POP3 Port: | 110, 995 |
| Outgoing Mail Server: | mail.thexyzserver.com |
| Outgoing Mail Server SMTP Port: | 25, 2525, 465 |

